One of the most frustrating things that can happen to you is that you have decided to have a nice relaxed day kayaking away on a quiet lake and when you take your kayak to the shore and start filling it in with air; you realize that it is leaking!!
An air leak is a very common problem when it comes to kayaks and other floatation vehicles. If the air pressure is low, you can easily fill up the air pressure into the kayak. But if you have a leak, it will take time to get resolved.
You can check below our top tips on how you can identify a leak in your inflatable kayak:
1. Spray soap water at the valve
If you feel that your kayak is losing air pressure once it is inflated, the first thing that you need to do is your kayak for air leaks. If the air is escaping from somewhere, then the air chamber will get soft. The easiest way to check for leaks is by using, shampoo, soap or dishwashing detergent. You can mix either of these ingredients with water and add it to a spray bottle. Since the valve is a very common part of the kayak where leaks happen, you can start with the valve area. You need to spray around the valve. If you see that bubbles are forming, then you know that the issue is with the valve.
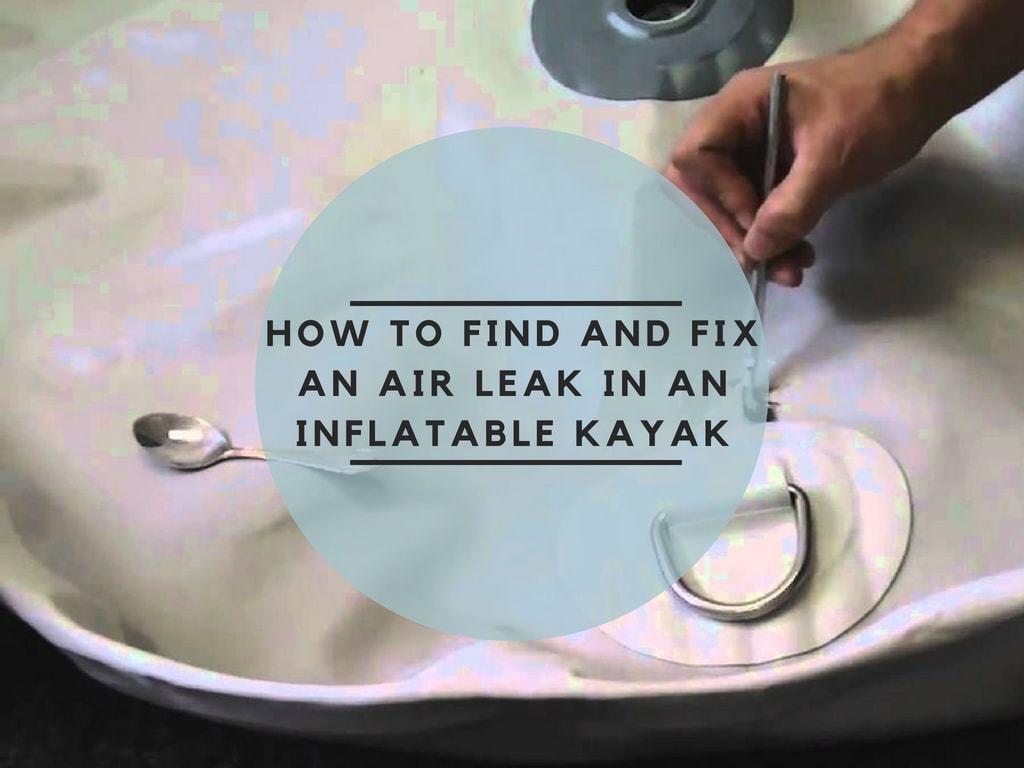
2. Scrub soap water on the inflatable kayaks surface
If you can’t find any leak in the valve area then you will have to check the complete surface area of the kayak. Most of the time, the leak on the surface will be tiny so it gets difficult to identify. You will have to inflate the kayak till it is hard. You then need to add liquid detergent in a bucket of water and then scrub the kayak with a rag or a brush. You have to keep watching for tiny bubbles which will erupt from the surface. That will be the place where the leak is. Once you find the leak, don’t stop. Keep scrubbing the whole Kayak as you may find more tiny holes in the kayak and you might as well repair all the holes at one time.
3. Listen for a leak
If the above suggestions didn’t work, then the next tip that you can try is to listen for a leak. When air leaks it comes out with a certain amount of pressure so there will be a slight hissing sound. You can try and listen for the leak. Once you have narrowed down the area where the hole could be, you can then spray that area with the detergent solution and check for bubbles.
4. Check one section at a time
If you still have a leak, then you need to deep dive into a more intensive way of finding the leak. If the above three tips didn’t work is to divide the surface of the air chamber into imaginary squares. You can then apply a soapy mix to one square at a time and check for bubbles on the surface. Give the bubbles about five minutes to form. If after five minutes, you don’t see any bubbles, go to another square. You also have to make sure that you have applied soapy water to the seams also and not just the surface.
Once you have identified the leak or leaks, you now have to fix the leak.
How to fix the leak in your inflatable kayak
1. Issues with the valve
If the leak is from the valve base or fitting, you should check and ensure that insert is tight and is well screwed and that the pushpin is positioned correctly. The most common reason for a leak is due to valves which are not fitted correctly. You can also check the rubber O-rings and see that there are no cracks in it. They are very cheap to replace so even if there is a slight crack it is best to replace it.
2. Small leaks
If the hole is smaller than 1/8 of an inch you can repair it without a patch. You need to deflate the boat, clean it and then dry the part that you need to fix. Once it is dry and clean, you can apply a small drop of glue. Let it then dry for about 10-12 hours.
3. Large leaks
If the leak is big then you will need to add a patch. It is very easy to make a patch. Most kayaks will have a repair kit. You can cut a piece of repair material from the repair kit. They overlap the area that has a leak. Make sure that there is an extra area around the leak that is overlapped. Put glue to the patch and on the area that you need to fix on the kayak. Place the patch on the leaking area. Keep something heavy on that area so the glue is pressed properly. Anything heavy with a weight of three to five pounds should be fine. Keep it for 24 hours. Once the patch is dry, add adhesive to the edges and ensure that it is completely sealed. You can keep it for drying for about 6 hours more after that.
Conclusion
An inflatable kayak is a very safe boat and is used very frequently and by many military, rescue and coast guard organizations across the world. Even if you get a leak, it is easy to repair as you can see above.
You need to make sure though that you repair the kayak properly so you can use the kayak for a very long time. Most owner manuals have detailed instructions on how to repair that specific kayak brand or model. Reading the owner manual may give you additional specific suggestions on how to fix the leak of your kayak which will help in maintaining the quality and long life of your kayak.